
After installing Dynamics NAV 2018 I want to configure Visual Studio Code with Dynamics NAV to use new Development tool.
I already had Visual Studio Code installed on my computer (Click to download Visual Studio Code) so I open up the application.
Do not follow Section 01 steps because you will run into issues. Read the Section 02 of the instructions to get it work.
Section 01 :
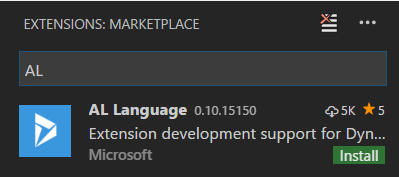
First thing I want to do is download AL Extention. In order to download AL extension follow below steps:
- Go to View Menu and click on Extensions.
- Search for AL
- Click Install.
Once the Extention installation is complete I followed below steps:
- Press Alt+A, Alt+L to trigger the Go! command,
- Choose “Your own server”
- Once you select the “Your own server” you will see a code like below in the “launch.json” file.

I change the settings as below :
  "version": "0.2.0",
   "configurations": [
     {
                "type": "al",
                "request": "launch",
                "name": "Local server",
                "server": "http://localhost:7049",
                "serverInstance": "DynamicsNAV110",
                "tenant": "default",
                "authentication": "Windows",
                "startupObjectId": 22
     }
   ]
Once I do that I got an error message, and I could not resolve it. (Could not download symbols. Please see the Visual Studio output log for more details)

Then I thought it is something to do with the Service tier config so I open up the config file and notice that “Enable loading application symbol reference at service startup” is disabled. I enabled it and restart the instance.

Even after that also I could not get to download symbols. Therefore I thought to use a different approach.
Section 02:
I thought to install AL extension manually by using VSIX file.
- Uninstall AL extention from Visual Studio Code.
- Click View -> Extention.
- Click on … to open the extension menu.
- Click on Install from VSIX

You can find VSIX file on the installation medium path: “ModernDevprogram filesMicrosoft Dynamics NAV110Modern Development Environment” or in the “C:Program Files (x86)Microsoft Dynamics NAV110Modern Development Environment”

This will install AL Language Version 0.12.15355
Once the Extention installation is complete I follow below steps
- Press Alt+A, Alt+L to trigger the Go! command.
- Choose “Your own server”
- Once you select the “Your own server” you will see a code like below in the “launch.json” file.
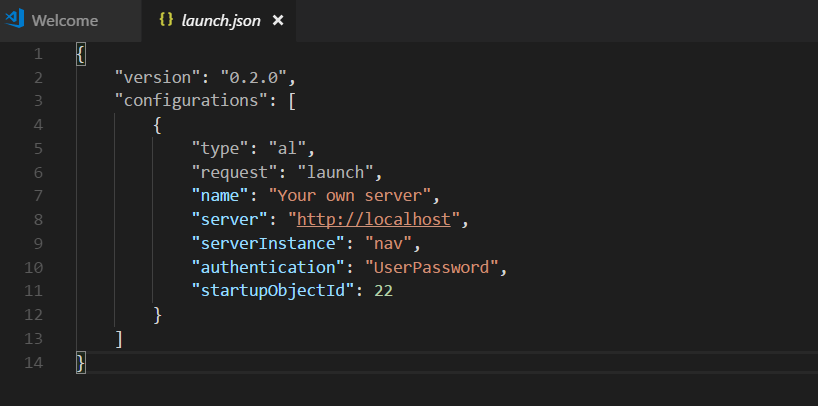
   "version": "0.2.0",
   "configurations": [
     {
       "type": "al",
       "request": "launch",
       "name": "Your own server",
       "server": "http://localhost",
       "serverInstance": "nav",
       "authentication": "UserPassword",
       "startupObjectId": 22
     }
   ]
In my local installation, I use Windows Authentication and my NAV instance is different. Therefore I change the file values as below.

    "version": "0.2.0",
   "configurations": [
     {
       "type": "al",
       "request": "launch",
       "name": "Your own server",
       "server": "http://localhost",
       "serverInstance": "DynamicsNAV110",
       "authentication": "Windows",
       "startupObjectId": 22
     }
   ]
Once I update the values and save the file, it successfully downloads the symbols.
Please let me know if you use a different approach or if it workes with online extension installation for you.
Please provide your feedback with a comment.
Thank you and Regards,
Tharanga Chandrasekara
1 comment
Thank you very much! You're start!!! it worked finally!!!